
How to use Gitlab Package Registry as a Helm Chart Repository (August 2022)
I have seen a few blog posts cover this area but I had to make some minor changes in order to get the examples to work. Here is my edit. I have dated the title as I am under no illusion that things may change and features will be added as is so often the case. I have used a combination of steps produced here: https://docs.gitlab.com/ee/user/packages/helm_repository/ and from other sites. These steps are run from a Linux machine.
Prerequisites
For this tutorial you need to install:
Minikube
Helm
and have a working GitLab account.
Tutorial
So first head towards a folder in your local terminal where you can create an example Helm project:
helm create example
This will create a folder called “example” in the directory that you are in and within that directory will be all the requirements for a basic Helm deployment. Feel free to have a look around.
Then create a new project in GitLab called “example”.
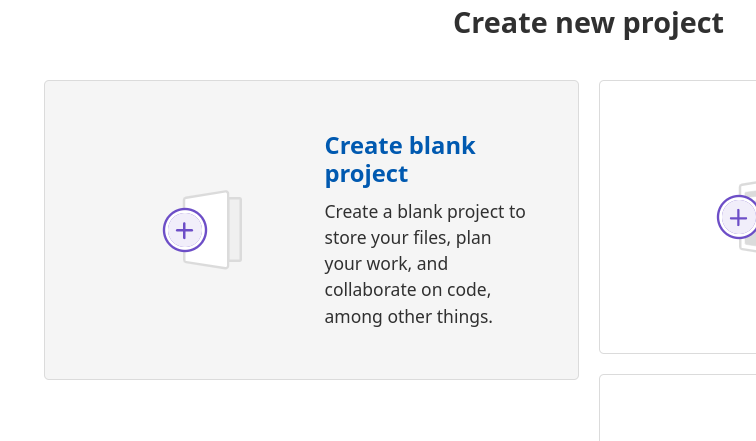
Leave all the defaults as is for now. This is just a test.
Then add your repo locally. This is the one that Helm will use to replicate your charts across your projects. For this you will need the Project ID from your project. This is located at the top of the page under the project title:
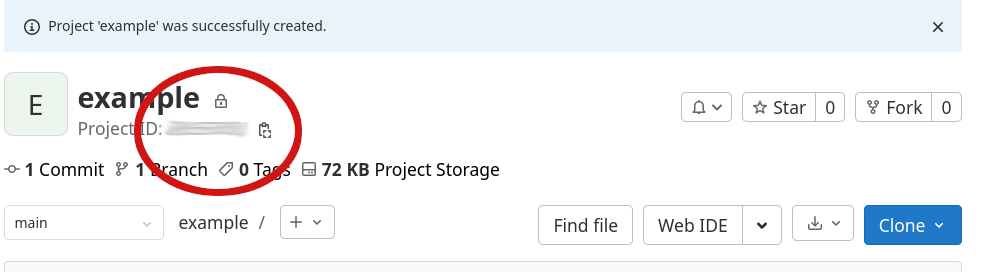
You can click the clipboard image to the right of the ID to copy it to the clipboard.
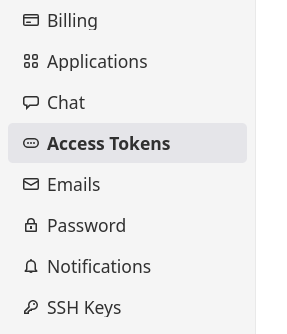
You will also need to create a Personal Access Token. To do this click on your little person icon in the top right of the screen and select Preferences.
Then select Access Tokens on the left of the screen.
Give your token a name (any will do), an expiration date and a scope of “api” or whatever you feel comfortable with. You might wish to use this token for other work. I don’t know. It’s your token.
Don’t forget to copy the name of the token as this is now your password! Otherwise you will have to follow these steps again. Boring.
Then run the Helm repo add command with this URL replacing the relevant fields such as username, password-token and project_ID:
helm repo add --username <username> --password <password-token> example https://gitlab.com/api/v4/projects/<project ID>/packages/helm/stable

Now move into the “example” folder in your terminal:
cd example
Package the contents of the folder:
helm package .
Now install the Chart Museum plugin to push the package to the registry. Don’t worry. This still sends your package to your GitLab repo and not someone elses! For some reason the builtin Helm push command didn’t work for me and required an OCI:// path. This command will copy your newly made Tarball of your Helm folder and put it in the package registry in your GitLab repo:
helm plugin install https://github.com/chartmuseum/helm-push.git
helm cm-push example-0.1.0.tgz example
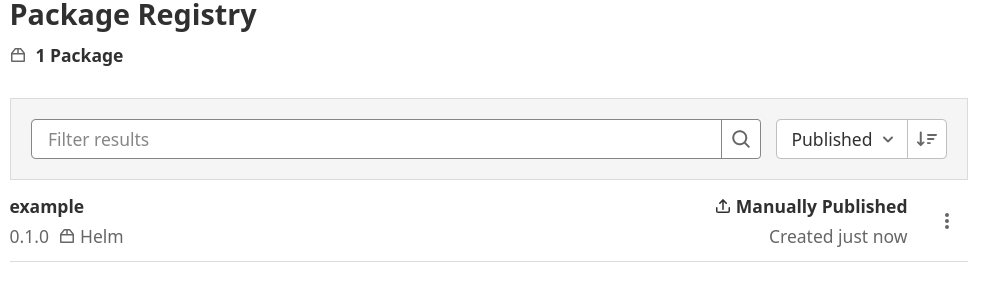
In your GitLab project window, head to Packages & Registries on the left hand side and select Package Registry. As if by magic, it should now be there.
Now check your repo is installed and listed:
helm repo list
It should list the NAME example and URL that you passed earlier with the Helm repo add command.
Start your local cluster:
minikube start
Install your Helm chart:
helm install example example/example
Check that the Helm chart has deployed.
k get deploy -A
Conclusion
And so there it is! I really hope this has helped you. If you run into an issue then just let me know via the various social media icons beneath my avatar on the left. If this did help you then feel free to Buy Me A Coffee!
☕ Enjoyed this post? Buy me a coffee!